
You don’t need an electrician to install a ceiling fan for you if you have a light fixture in the place where you want to place the ceiling fan. You can complete your own ceiling fan installation painlessly if you know how. Use these instructions to install your own ceiling fan safely yourself.
Turn Off the Power Supply
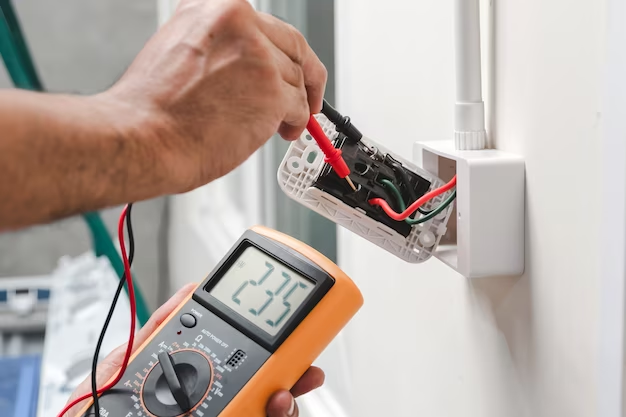
Be sure to go to your electrical panel and turn off the power supply to the circuit you’ll be working on. You risk serious injury or death by not turning the power supply off. Check that the power supply is off in the room where you’re working by testing the light switch or using a circuit tester to test an outlet.
Take Down the Light Fixture You’re Replacing
Start the job by taking down the light fixture you’re replacing. You don’t necessarily have to do without overhead light in the room if you install a ceiling fan. There are plenty of ceiling fans with lights you can install, and this guide will cover how to install one of them (it’s not that different from installing a fan without lights).
Remove the bulb covers and light bulbs from your light fixture. Undo the screws connecting the base of the light fixture to the junction box in the ceiling. Pull the light fixture down and gently remove the wiring from the junction box. Remove the wiring caps and disconnect the wiring. Set the light fixture aside.
Check the Junction Box
You might need to replace the junction box in your ceiling with one rated for use with ceiling fans. The fan-rated junction box should be anchored either directly to a ceiling joist, or to a fan brace between ceiling joists. Pry the light-rated junction box off of the joist and put a fan-rated box in its place.
Attach the Fan Mounting Bracket
Once you have switched out the light-rated junction box for a fan-rated one, it’s time to attach the fan mounting bracket to the junction box. Use the screws that came with your fan kit. Pull the wiring through the junction box and down through the mounting bracket.
Assemble the Fan and Connect It to the Wiring
You will need to assemble the fan motor on the floor before you wire it up at the ceiling. Your ceiling fan will come with instructions to guide you in assembling the fan motor, downrod, and canopy. In general, the downrod is going to attach to the fan motor using pins.
The canopy goes over the downrod, to be pulled up in position once the fan motor is hung from the mounting bracket. The top of the downrod is usually a ball that will fit into a socket on the mounting bracket. Of course, if you have purchased a fan without a downrod, you will probably need to attach the fan canopy directly to the top of the fan motor. Either way, pull the wiring from the fan motor up through the downrod or fan canopy.
You should be able to hang the fan motor from a hook on the mounting bracket while you are connecting the wiring. The wiring in your ceiling and in the fan should be similar in colour. Connect the wires in your fan to the same colour wires coming out of the ceiling. Twist the ends together to connect the wires, using a wire stripper to expose more of the ends of the wires as needed. Cap the wires with plastic caps to secure the connections.
Assemble and Connect the Blades
You will need to attach the blade brackets to the ends of the blades before you can attach the blades to the motor assembly. Use the screws that come with your ceiling fan. Once you have attached all the blades to the fan, use a tape measure to make sure they are all equidistant to the floor. If, after you turn your fan on to test it, you find that it’s wobbly, you can use a fan balancing kit to fix the wobble.
Connect the Fan Light Fixture
The final step to installing your own ceiling fan is to connect the light fixture, which should be easy enough. Again, just connect the matching wires together – or if the light fixture has a plug, just plug it into the motor housing. Use the provided screws to attach the light fixture to the middle of the fan. Now you can put on the bulb covers and screw in light bulbs. It’s time to restore power to the circuit and test your new fan!


