Stud partition walls are commonly used to create additional rooms within a home. These spaces could include an extra bedroom, a home office, or even a bathroom. With the right materials and basic skills, much of the work can be completed yourself.
Building the frame is a major part of the job. While many homeowners choose to hire a builder, it is possible to create a stud partition frame yourself by following the correct steps.
Tools You May Need
- Protective gear
- Nail gun (Framing nailer)
- Nails of the right size for the nailer.
- Power supply
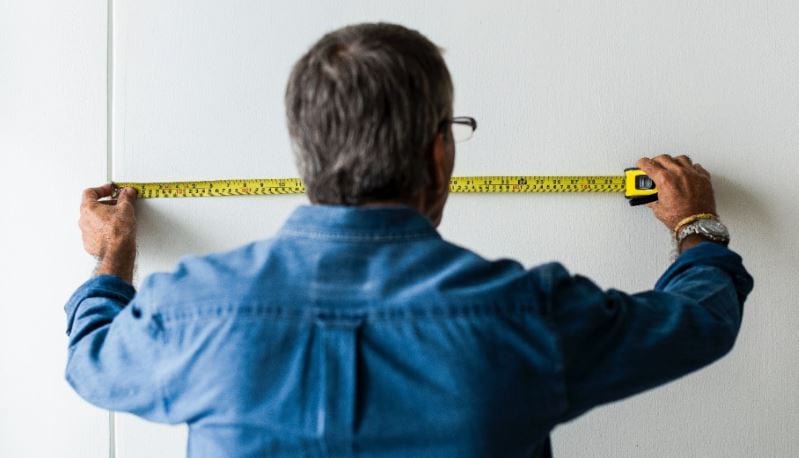
- Tape measure
- Plumb line
- Drill
- Screws
- Miter or Circular Saw
Choosing the Right Nailer
A framing nailer is essential for this project. There are two main types you can use:
- Pneumatic framing nailers, which require an external air compressor
- Cordless framing nailers, which operate on battery power
- Both options are effective, depending on your setup and preferences.
Step-by-Step Instructions
Stud partition walls are a cost-effective and practical solution. They can be built using either 100mm × 50mm or 75mm × 50mm sawn timber.
You will need:
- A ceiling (head) plate fixed to the ceiling joists
- A floor (sole) plate fixed to the floor
- Vertical studs spaced evenly between the plates
- Noggins, which are short horizontal braces that add strength and rigidity
Step 1: Decide Where to Put the Wall

Start by deciding where the wall will be installed. Use an electronic detector to identify any pipes, cables, or joists behind the walls, floor, or ceiling.
If the wall runs at right angles to the ceiling joists and floor, it can be fixed in almost any position. If it runs parallel, ensure it is positioned directly over the joists.
Measure both ends of the wall using a tape measure and mark one edge of the stud wall on the floor or skirting board.
Step 2: Draw A Plumb Line Along the Wall

Take your plumb line and hang it along the wall to the mark that you made. Following the plumb line, make a line with chalk or a clear mark pen up the wall up to the ceiling line.
Step 3: Mark the Ceiling
Using your chalk or marker pen and an off-cut wood or square, mark the ceiling line.
Step 4: Locating and Marking Joists for Ceiling Plate Attachment

Drive a nail into the ceiling close to the wall junction to mark the edge of the ceiling plate. Measure and snap a chalk line to show where the ceiling plate will sit.
Use an electronic detector to locate ceiling joists running at right angles to the wall. These joists are required to securely attach the ceiling plate.
If the detector doesn’t locate the joists, carefully probe along the chalk line using a bradawl. Any small holes will be hidden by the ceiling plate. Once located, mark the joist positions clearly.
Step 5: Measuring and Installing the Ceiling Plate

Measure and cut the timber for the ceiling plate so it fits exactly between the walls. Hold it in position and mark the fixing points along its length.
If the plate runs parallel to joists, ensure fixings are spaced no more than 400mm apart. Drill clearance holes at the marked points, then secure the plate along the chalk line using screws. Screws are preferred, as nails can crack ceiling plaster.
A second person or a temporary wooden prop can help support the plate during installation.
Step 6: Installing the Floor Plate

Measure and cut the timber for the floor plate using a mitre or circular saw. If you’re installing a door, place the pre-assembled door frame against the plate to determine the required opening width.
Fix the floor plate using a framing nailer at 400mm intervals. For solid floors, drill holes using a rotary hammer before fixing.
Step 7: Installing Studs Between Ceiling and Floor Plates

Measure the distance between the ceiling and floor plates. Cut two studs to size and position them along the plumb guideline.
Secure the studs in place using nails or screws, ensuring they are straight and properly aligned.
Conclusion
Building a stud partition wall is a practical way to create extra space in your home without major renovation costs. With careful planning, the right tools, and accurate measurements, framing the wall can be a straightforward DIY project.
Taking your time at each stage of the process ensures that the structure is strong, level, and ready for finishing. A well-built frame sets the foundation for a durable and functional new space.


